
The Davey Pump Repair Manual PDF is a comprehensive guide offering detailed instructions for troubleshooting, maintenance, and repair of Davey water pumps, ensuring optimal performance and longevity.
1.1 Overview of Davey Pumps and Their Importance
Davey pumps are renowned for their durability and reliability, offering a wide range of high-quality water pumping solutions for residential, agricultural, and industrial applications. Their innovative designs ensure efficient water management, making them a trusted choice globally. Davey pumps are built to withstand harsh conditions, providing consistent performance and long-term value. Their importance lies in their ability to meet diverse water supply needs, ensuring reliability and efficiency in various settings. Proper maintenance and repair are essential to uphold their performance and longevity.
1.2 Purpose of the Repair Manual
The Davey Pump Repair Manual PDF serves as a detailed guide to empower users with the knowledge to perform effective troubleshooting, maintenance, and repairs. It provides step-by-step instructions for diagnosing and resolving common issues, ensuring optimal pump performance. The manual covers essential repair procedures, replacement of worn-out parts, and safety precautions, enabling users to extend the lifespan of their Davey pumps. It acts as a comprehensive resource for both professionals and DIY enthusiasts, fostering self-sufficiency and confidence in handling pump repairs efficiently.
Safety Precautions Before Starting Repairs
Always disconnect the pump from the electrical supply and release pressure before starting repairs to ensure a safe working environment and prevent potential accidents or injuries.
2.1 Essential Safety Warnings
Always disconnect the pump from the electrical supply and release any stored pressure before starting repairs. Avoid contact with hot surfaces and moving parts. Ensure proper ventilation in the workspace. Wear protective gear, including gloves and safety glasses. Never attempt repairs while the pump is operational or under pressure. Be cautious of residual pressure in the system, which can cause sudden component movement or fluid release. Follow all safety guidelines to prevent injuries and ensure a safe working environment.
2.2 Disconnecting the Pump from Electrical Supply
Before starting any repair, ensure the pump is disconnected from the electrical supply. Switch off the power at the circuit breaker or remove the plug from the power outlet. Verify that the pump is not operational and no power is present. This step is critical to prevent electric shock or accidental startup. Always release any stored pressure in the system before proceeding with maintenance or repairs. Ensure the pump is completely de-energized for a safe working environment.
Tools and Materials Needed for Repair
Essential tools include wrenches, screwdrivers, pliers, and a multimeter. Materials required are replacement seals, gaskets, and O-rings, along with lubricants for proper pump operation and longevity.
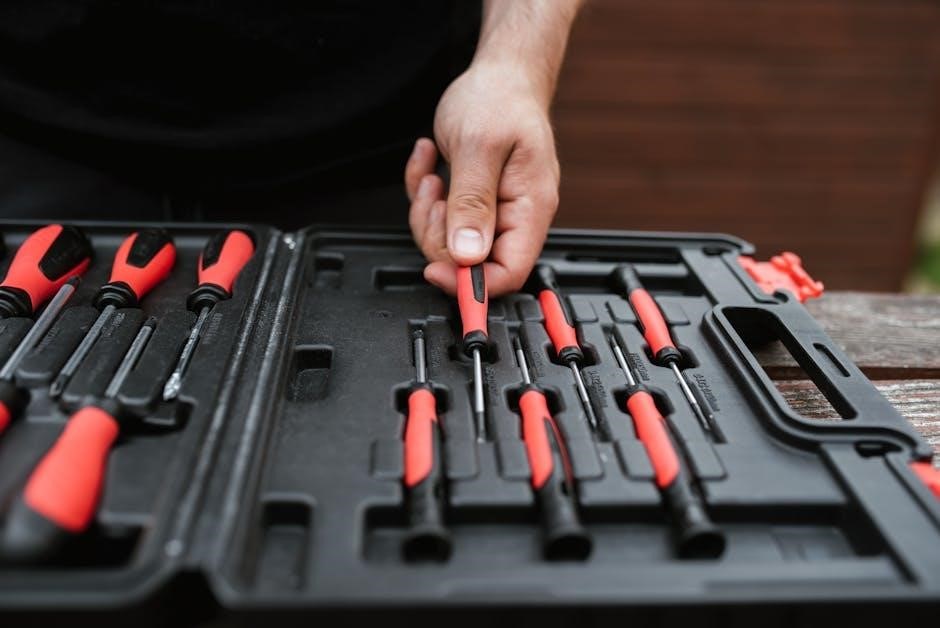
3.1 List of Essential Tools
The essential tools for Davey pump repair include adjustable wrenches, screwdrivers, pliers, and a multimeter for electrical checks. Specialized tools like a pump puller and pressure gauge are also necessary. Safety gear such as gloves and goggles should always be worn. Additionally, a set of metric and imperial sockets, torque wrench, and seal removal tools are recommended. Proper organization of tools in a toolbox ensures efficiency and prevents misplacement during repairs.
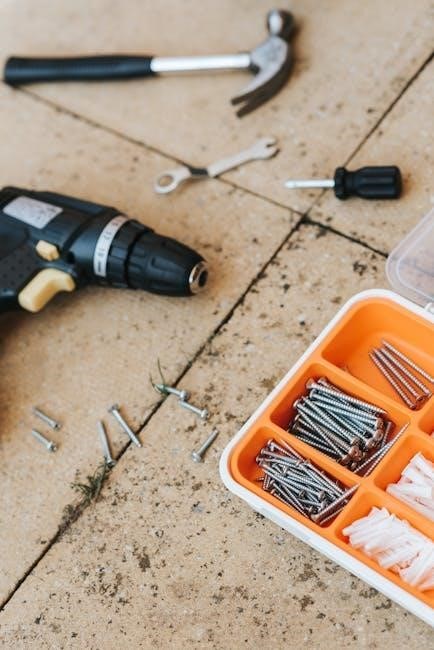
3.2 Required Materials for Pump Repair
Essential materials for Davey pump repair include seals, gaskets, and O-rings to prevent leaks, as well as lubricants for moving parts. Replacement impellers, bearings, and shafts may be needed if damaged. Epoxy or sealants are often required for casing repairs. Teflon tape is recommended for threaded connections. Always source genuine Davey parts for compatibility and durability. Additionally, protective materials like gloves and safety glasses are crucial for safe handling. Ensure all materials are readily available before starting the repair process.

Step-by-Step Disassembly Guide
Begin by disconnecting the pump from the power source and releasing pressure. Remove external components like bolts and hoses using an adjustable wrench and screwdrivers. Detailed instructions guide you through each step safely and effectively.
4.1 Removing External Components
Start by disconnecting the pump from the electrical supply and releasing any built-up pressure. Use an adjustable wrench to remove bolts securing the external casing. Carefully lift and set aside the casing to access internal mechanisms. Next, disconnect hoses and pipes by loosening any fittings or couplings. Ensure all components are safely placed aside to avoid damage or misplacement during the repair process. Proper removal of external parts is crucial for accessing internal mechanisms effectively.
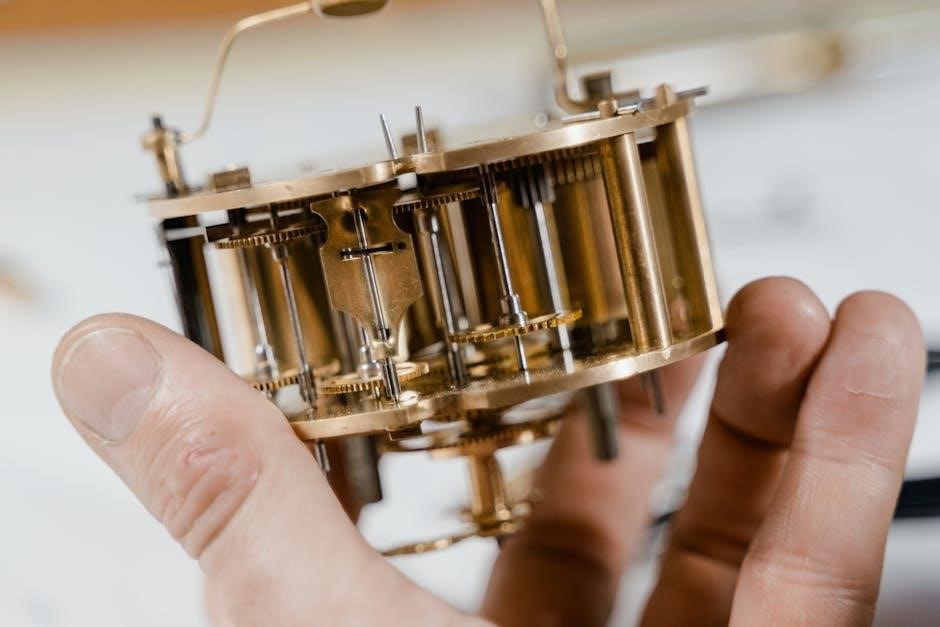
4.2 Accessing Internal Pump Mechanisms
After removing external components, use an adjustable wrench or screwdriver to disconnect any remaining electrical connections or hoses. Gently pry open or unscrew the internal casing to expose the pump’s core. Be cautious of delicate parts like the impeller or motor shaft. Use a pulley puller if necessary to separate the motor from the pump housing. Ensure all internal components are accessible for inspection and repair, taking care to avoid damaging sensitive machinery during the process. Proper access is key to effective diagnostics and repairs.
Inspection and Diagnosis
Inspect the pump’s internal components, such as impellers and shafts, for signs of wear, corrosion, or blockages. Check for leaks and unusual noise sources. This step helps identify issues and determine necessary repairs for optimal functionality.
5.1 Identifying Common Pump Issues
Common pump issues include leaks from worn seals or gaskets, blockages in suction or discharge pipes, and malfunctioning impellers. Noises like grinding or excessive vibration may indicate worn bearings or misaligned components. Reduced water flow could signal clogged filters or faulty valves. Regular inspection helps detect these problems early, ensuring timely repairs and preventing further damage. Always refer to the manual for specific troubleshooting guidance tailored to your Davey pump model.
5.2 Checking for Wear and Tear
Inspect the pump for signs of wear and tear, such as corroded or eroded components, worn-out seals, or damaged gaskets. Check for leaks around joints and connections. Examine the impeller for cavitation damage and ensure the motor bearings are free from excessive play. Look for blockages in the suction or discharge pipes, which can cause reduced performance. Regularly checking these areas helps identify potential issues before they escalate, ensuring the pump operates efficiently and reliably over time.
Replacing Damaged or Worn-Out Parts
Replace damaged or worn-out components with genuine Davey parts to ensure optimal performance. Follow the manual’s instructions for proper installation and alignment to maintain pump efficiency.
6.1 Procuring Genuine Davey Parts
To ensure reliability and compatibility, always source genuine Davey parts from authorized dealers or the official Davey website. Genuine parts guarantee optimal performance and maintain warranty validity. Contact Davey Customer Service at 1300 367 866 or visit their service centers for assistance. Avoid using third-party components, as they may compromise pump efficiency and safety. Verify part numbers in the manual before purchasing to ensure accuracy and compatibility with your specific pump model.
6.2 Replacing Seals, Gaskets, and Other Components
When replacing seals, gaskets, or other components, always disconnect the pump from the electrical supply and release any stored pressure. Inspect the area around the damaged part for debris or corrosion. Clean the surfaces thoroughly before installing new genuine Davey parts. Apply a thin layer of lubricant if specified in the manual. Reassemble the pump carefully, ensuring all connections are secure to prevent leaks. Proper installation ensures optimal performance and longevity of the pump.

Reassembly and Testing
Reassemble the pump carefully, ensuring all components are securely connected. Test the pump to confirm proper function, checking for leaks and optimal performance levels.
7.1 Proper Reassembly Techniques
Reassemble the pump by aligning components correctly, ensuring all seals and gaskets are properly seated. Use genuine Davey parts to maintain performance and longevity. Tighten bolts gradually, following the recommended torque specifications. Avoid over-tightening to prevent damage. Ensure all connections are secure and free from leaks. Reconnect electrical components carefully, verifying proper alignment and function. Apply a small amount of lubricant to moving parts if specified. Double-check all steps before testing the pump under low pressure to ensure readiness for normal operation.
7.2 Testing the Pump After Repair
After reassembly, reconnect the pump to the electrical supply and ensure all connections are secure. Run the pump at a low setting to check for leaks or unusual noises. Gradually increase the pressure to test performance and flow rate. Verify that all components function correctly and adhere to specifications. Monitor for vibrations or irregular operation, addressing any issues promptly. Ensure proper priming and check the output against the manufacturer’s guidelines for optimal performance; Record any observations for future maintenance reference.
Troubleshooting Common Issues
Identify common problems like low pressure, leaks, or unusual noises. Perform thorough checks on connections, seals, and electrical components. Ensure the pump is properly primed and powered.
8.1 Addressing Pump Priming Problems
Priming issues often arise from airlocks or improper suction. Ensure the pump is filled with water and all valves are open. Check for leaks or blockages in the suction line. If using a foot valve, verify it’s submerged and functioning correctly. Apply a small amount of water to the pump casing to eliminate air pockets. Restart the pump and monitor for consistent flow. Repeat if necessary to achieve optimal performance.
8.2 Fixing Low Pressure or Flow Rate
Low pressure or flow rate issues can stem from clogged filters, worn impellers, or incorrect pump sizing. Inspect and clean or replace filters to ensure unobstructed water flow. Check the impeller for wear and replace if necessary. Verify that the pump model matches the system’s requirements. Adjust the pump speed or pressure settings if applicable. Ensure all pipes are of the correct diameter and properly connected to avoid restrictions. Regular maintenance can prevent such issues and maintain peak performance.
Maintenance Tips for Longevity
Regular inspection, cleaning, and lubrication of moving parts ensure optimal performance. Proper storage and timely replacement of worn components extend the pump’s lifespan and reliability.
9.1 Regular Maintenance Schedule
A well-structured maintenance schedule is crucial for extending the life of your Davey pump. Regularly inspect the suction and discharge pipes for blockages or damage. Check and replace worn-out seals and gaskets every six months or as needed. Lubricate moving parts annually to ensure smooth operation. Additionally, perform a thorough cleaning of the pump and motor every three months to prevent dust and debris buildup. Always refer to the manual for specific intervals tailored to your pump model.
9.2 Cleaning and Lubrication
Regular cleaning and lubrication are essential for maintaining your Davey pump’s efficiency. Use a soft cloth to wipe down the exterior, removing dirt and grime that may interfere with cooling. Apply high-quality, water-resistant grease to all moving parts, such as bearings and shafts, to reduce friction and wear. Ensure the pump is turned off and cool before performing any cleaning or lubrication tasks. Refer to the manual for recommended products and frequency to keep your pump running smoothly and prolong its lifespan.
Additional Resources and Support
For further assistance, contact Davey’s customer service at 1300 367 866 or visit their website for online forums and detailed product support resources.
10.1 Accessing Davey Customer Service
To access Davey customer service, call their support team at 1300 367 866 or fax at 1300 369 119. For inquiries, email their dedicated support team. Davey also provides extensive online resources, including manuals, troubleshooting guides, and FAQs. Visit their official website or contact local offices for personalized assistance. Their customer service is available to address repair queries, provide technical guidance, and ensure optimal pump performance. Reach out for professional help with any pump-related issues.
10.2 Online Communities and Forums
Online communities and forums provide valuable support for Davey pump users. Websites like ManualsLib and ManualsOnline host extensive collections of Davey pump manuals and guides. Additionally, platforms such as Reddit and Facebook groups dedicated to water pumps offer spaces for users to share experiences, ask questions, and receive advice. These forums are ideal for troubleshooting, accessing DIY repair tips, and connecting with experts or other Davey pump owners. They often include links to resources, manuals, and repair guides, fostering a community-driven support system.