
Discover the art of camera-ready makeup with this comprehensive tutorial․ Perfect for photoshoots‚ events‚ or everyday looks‚ learn essential steps from skin preparation to finishing touches․
Understanding the Importance of Camera-Ready Makeup
Camera-ready makeup is essential for creating a flawless‚ photogenic look․ Unlike everyday makeup‚ it emphasizes longevity and clarity under bright lights and high-resolution cameras․ Proper techniques ensure your features pop in photos‚ hiding imperfections and enhancing natural beauty․ Makeup for pictures requires a strategic approach‚ as cameras can magnify details invisible to the naked eye․ By mastering these methods‚ you’ll achieve a polished appearance that captures confidence and elegance‚ making every snapshot memorable and professional-looking․
Step-by-Step Skin Preparation

Begin with clean‚ moisturized skin to create a smooth canvas for makeup․ Prime your face to enhance foundation adhesion and set with powder for a long-lasting base․
Moisturize Your Skin
Start by washing your face and applying a lightweight moisturizer to hydrate your skin․ Proper hydration ensures a smooth‚ even base for makeup‚ preventing dry patches and enhancing photo results․ Use a moisturizer suitable for your skin type‚ whether oily‚ dry‚ or combination․ Allow it to absorb fully before proceeding to ensure optimal primer and foundation application․ This step is crucial for achieving a natural‚ camera-ready look in pictures․
Prime Your Face
After moisturizing‚ apply a primer to create a smooth canvas for your makeup․ Primer helps your makeup last longer‚ reduces pores‚ and ensures an even foundation application․ Choose a primer that suits your skin type—hydrating for dry skin‚ mattifying for oily skin‚ or illuminating for a radiant glow․ Gently spread a pea-sized amount across your face using clean fingers or a brush․ Blend well‚ focusing on areas like the T-zone and cheeks․ Allow the primer to set for a few seconds before proceeding․ This step is essential for a flawless‚ photo-perfect base․
Foundation and Concealer Application
Apply foundation evenly for a natural base‚ blending with a beauty blender or brush․ Conceal blemishes and dark circles with precise strokes‚ ensuring seamless coverage for a camera-ready finish․
Applying Foundation for a Flawless Base
Start by selecting a foundation that matches your skin tone for a natural look․ Use a beauty blender or brush to apply foundation evenly‚ blending from the center of your face outward․ Ensure full coverage by buffing the product into your skin‚ especially around the hairline and jawline․ Avoid heavy layers; instead‚ build coverage gradually for a seamless finish․ This step creates a smooth‚ even base that enhances your natural complexion and prepares your skin for the rest of your makeup look․
Concealing Blemishes and Dark Spots
After applying foundation‚ use a concealer one shade lighter than your foundation to cover blemishes and dark spots․ Gently pat the product with a small concealer brush or your ring finger‚ blending edges seamlessly․ Focus on problem areas‚ ensuring full coverage without cakeiness․ For stubborn spots‚ layer lightly and let each layer set before adding more․ Finish by dusting translucent powder over concealed areas to set the product and prevent creasing‚ ensuring a smooth‚ flawless finish in photos․
Eyes and Brows
Eyes and brows are key to framing your face in photos․ Enhance your eyes with primer‚ mascara‚ and false lashes for volume‚ while defining your brows for a polished look․
Eye Makeup Tutorial: Steps for Brighter Eyes
Start with a primed eyelid for long-lasting color․ Apply a light base shade across the lid‚ a medium shade on the outer corner‚ and a darker shade in the crease for depth․ Highlight the brow bone and inner corner with a shimmer shade for brightness․ Line your eyes softly with a pencil or liquid liner‚ then coat lashes with mascara for volume․ For extra drama‚ add false lashes․ These steps create a vibrant‚ camera-ready eye look that pops in photos․
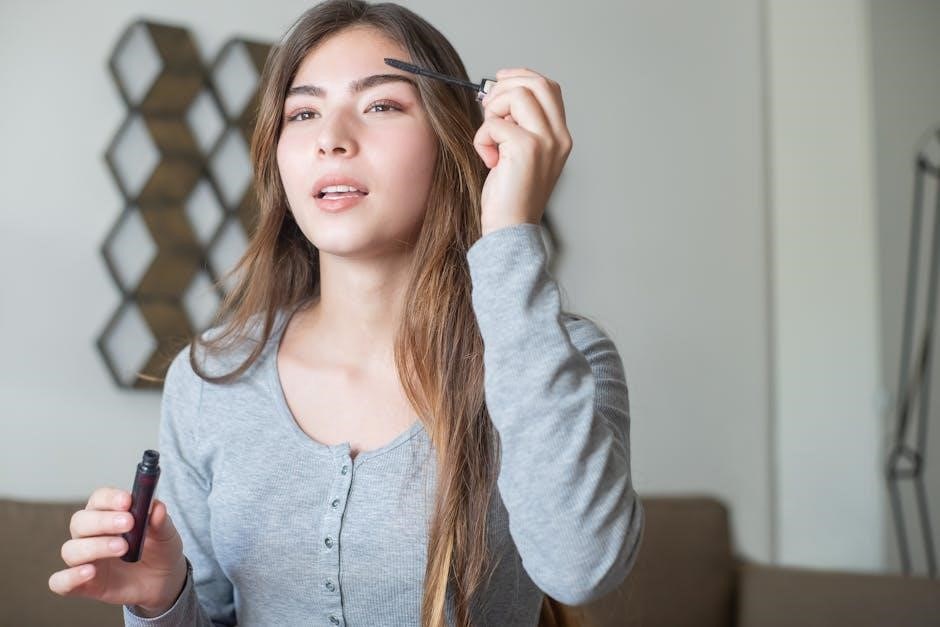
Grooming Your Brows
Groomed brows frame your face and enhance your features in photos․ Start by tweezing stray hairs for a clean shape․ Use a brow pencil to fill sparse areas‚ following your natural arch․ Lightly blend for a natural look․ Set with brow gel to keep hairs in place․ Avoid over-plucking‚ as natural brows look best on camera․ Defined yet soft brows will complement your eye makeup and add polish to your overall look․
Mascara and False Lashes for Volume
Enhance your eyes with voluminous lashes for stunning photos․ Apply mascara by wiggling the wand from base to tip for even coverage․ Coat both upper and lower lashes to make your eyes pop․ For extra drama‚ opt for false lashes—choose natural styles for subtle volume or more dramatic sets for impact․ Trim them to fit your lash line before applying for a seamless look․ Secure with adhesive‚ starting from the center for a polished finish․ This step adds depth and makes your eyes stand out beautifully in pictures․
Adding Color to Your Look
Blush Application for a Natural Glow
Enhance your natural glow with a soft blush application․ Choose a shade matching your skin tone‚ apply to the apples of your cheeks‚ and blend upward for a radiant‚ photogenic look․
Blush adds a natural-looking glow to your complexion‚ perfect for photos․ Choose a shade matching your skin tone—soft pinks for fair skin‚ peaches for medium tones‚ and berry shades for deeper tones․ Gently apply blush to the apples of your cheeks (the areas just above the corners of your mouth) using a soft brush or makeup sponge․ Blend upward and outward toward your temples for a seamless finish․ Avoid heavy application; instead‚ build color gradually for a subtle‚ radiant effect․ This step enhances your natural beauty and ensures you look vibrant in pictures․
Lips
Lips complete your photogenic look․ Choose a shade that complements your skin tone and personal style․ Opt for long-lasting formulas to ensure vibrant color in pictures․
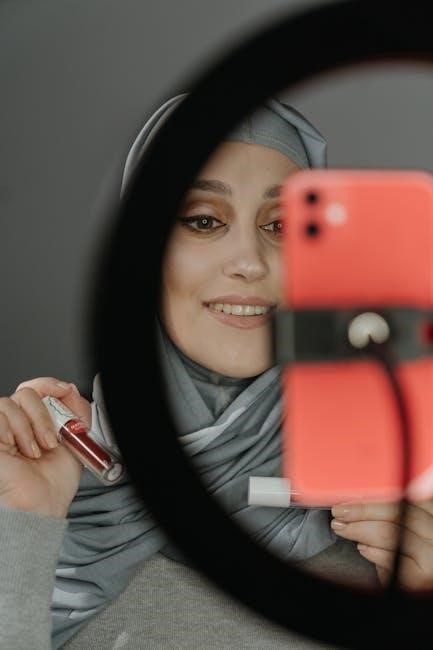
Choosing the Right Lip Color and Application
Choosing the right lip color enhances your photogenic look․ Opt for shades that complement your skin tone—nude for natural elegance or bold for a striking effect․ Consider long-lasting formulas to maintain vibrant color in pictures․ Apply lipstick or gloss with precision: line lips with a pencil first‚ fill in evenly‚ and blot gently for a flawless finish․ Ensure lips are moisturized beforehand for smooth application․ Avoid overlining to keep the look natural and camera-ready․
Finishing Touches
Complete your look by setting makeup with a setting spray for longevity․ Gently blot excess oil with a tissue and ensure all products are seamlessly blended for a polished‚ camera-ready finish․
Setting Your Makeup for Long-Lasting Results
Setting your makeup is crucial for ensuring it lasts throughout the day or photoshoot․ Use a setting spray to lock in your look‚ preventing smudging or fading․ Start by holding the bottle 6-8 inches away from your face and mist evenly․ Allow the spray to dry completely before touching your face․ For extra longevity‚ blot any excess oil with a tissue‚ focusing on oily areas like the T-zone․ This step ensures your makeup stays flawless and camera-ready‚ even under bright lights or prolonged wear․
Mastering camera-ready makeup requires practice and the right techniques․ Use setting spray for longevity‚ stay natural‚ and experiment with looks to enhance your photogenic appeal․
Final Tips for a Photogenic Makeup Look
For a truly photogenic makeup look‚ keep it natural and timeless․ Use setting spray to ensure longevity and avoid oily touch-ups; Blend makeup seamlessly to prevent harsh lines in photos․ Opt for soft‚ natural tones that complement your skin tone․ Avoid heavy shimmer or glitter‚ as they can reflect light awkwardly․ Groomed brows and defined lashes add polish‚ while subtle blush enhances your natural glow․ Experiment with lighting—soft‚ diffused light flatters most faces․ Finally‚ own your look with confidence for the best photos!